Business Details
Address: 384 Pinewood Dr, Radcliff, KY 40160, United States
Phone: (270) 801-4034
Business Hours:
- Monday to Friday : 8:00 am to 5:00 pm
- Saturday: 12:00 pm to 5:00 pm
- Sunday: Closed

How to Repair Holes in Drywall
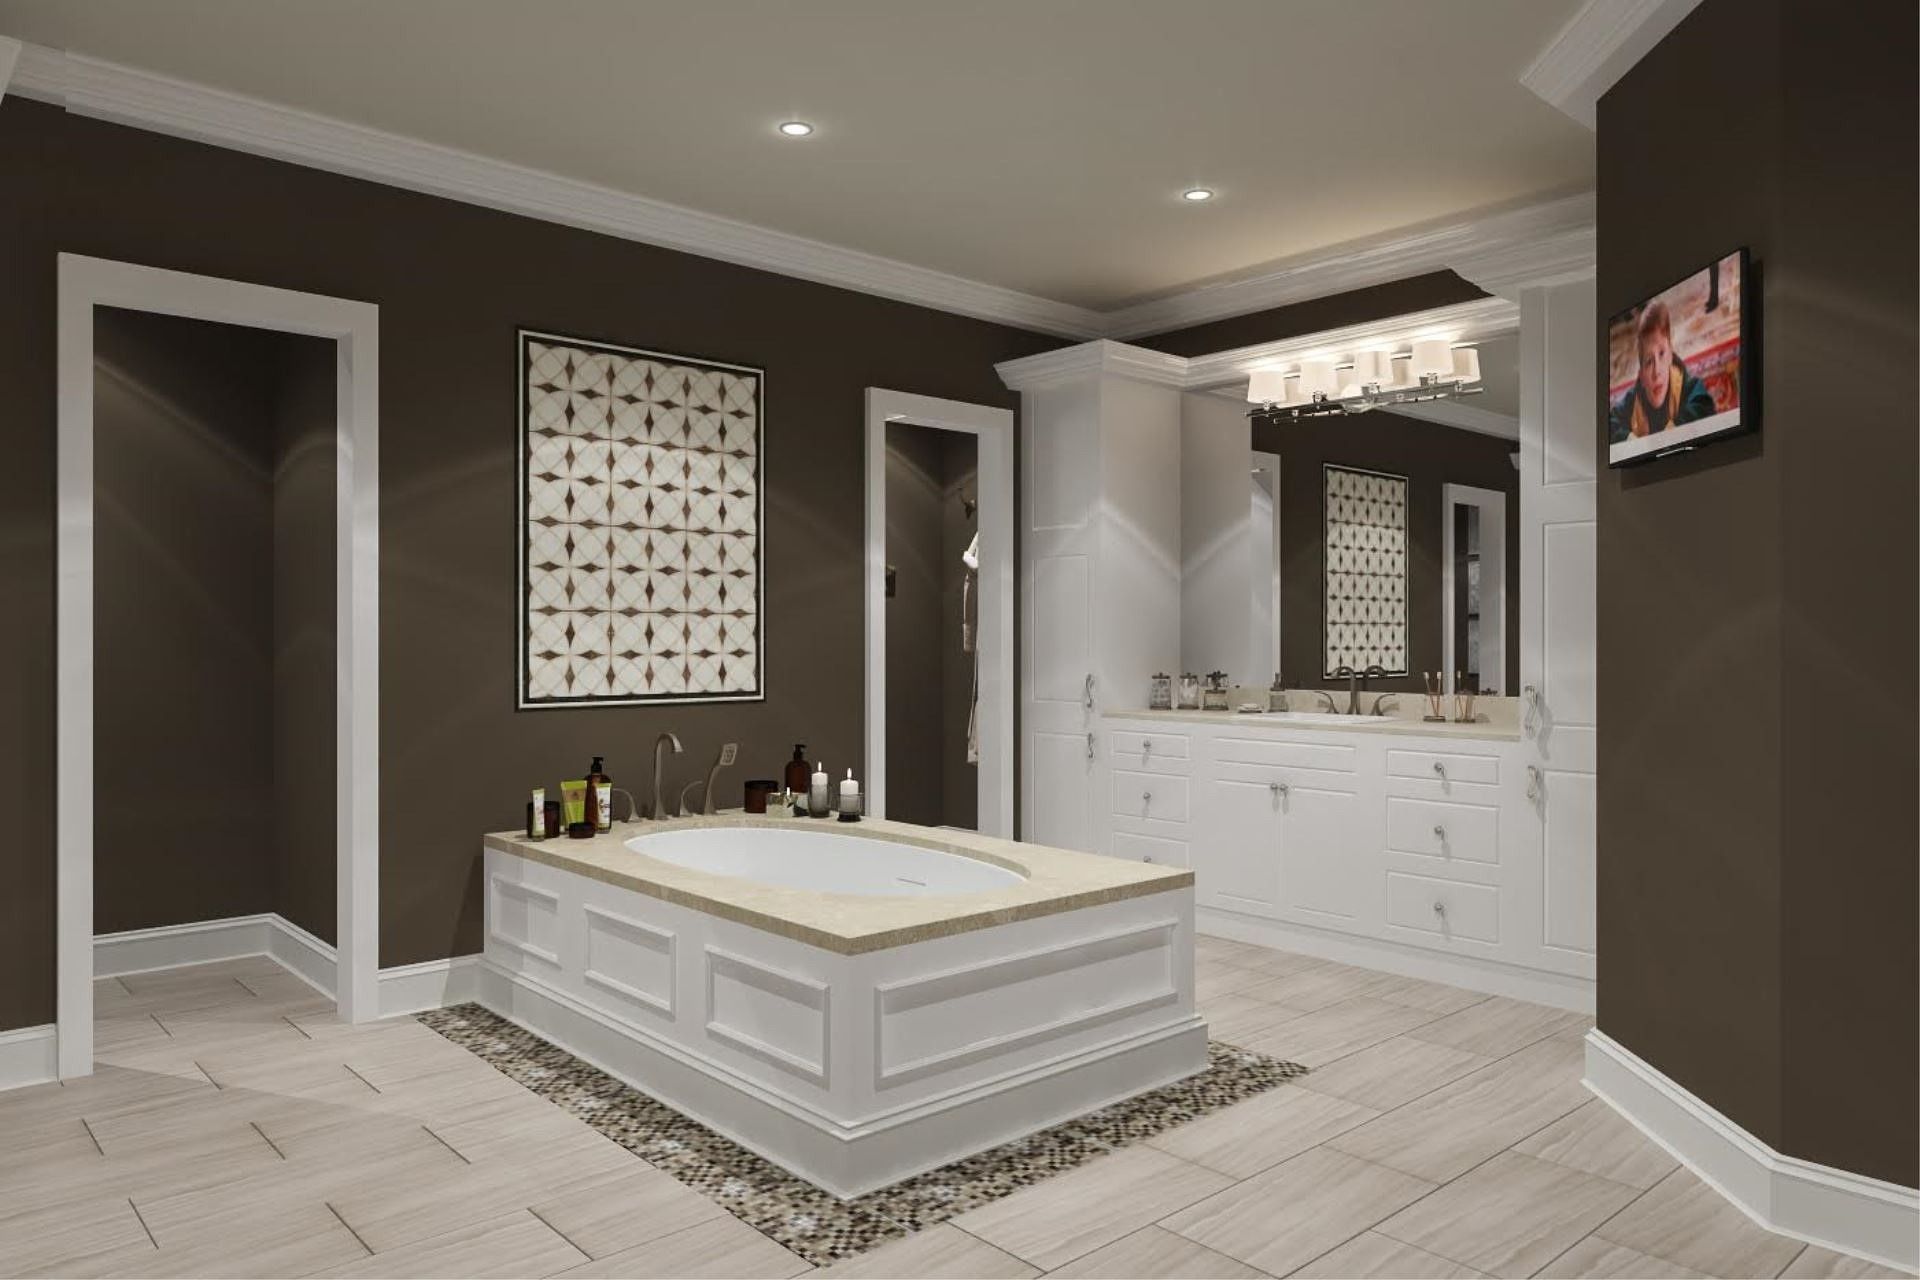
Drywall is a popular and widely used material for interior walls in homes. It's relatively easy to work with and provides a smooth and clean finish to any room. However, accidents happen, and sometimes holes can appear in your drywall.
Whether it's from a doorknob that got slammed too hard or a child's enthusiastic game of indoor soccer, these holes can be quite an eyesore.
You may think that repairing holes in drywall is a daunting task, but fear not! The good news is, repairing small holes in drywall is a fairly simple task that you can do yourself. Let us guide you through the process of repairing holes in drywall, so you can restore your walls to their former glory.
So let's get started and transform those unsightly holes into a flawless finish.
Assess the Size and Severity of the Hole
Measure the size of the hole in your drywall using a tape measure. This step is crucial in determining the appropriate method for repairing the hole. Different methods are available for repairing holes in drywall, and the size and severity of the hole will dictate which method is most suitable.
Once you have measured the size of the hole, you can proceed with the necessary repairs. Smaller holes, such as nail holes or small cracks, can be easily fixed using a spackling compound. Simply apply the compound to the hole, smooth it out with a putty knife, and let it dry. Sand the area lightly for a seamless finish, and you're good to go.
For larger holes, you may need to use a patching kit or mesh tape. These materials provide additional strength and support to the repaired area. Cut a piece of drywall patch or mesh tape slightly larger than the hole, and place it over the damaged area. Apply joint compound over the patch, feathering the edges to blend it with the surrounding wall. Once the compound is dry, sand it down for a smooth finish.
While repairing holes is necessary, it's also important to take steps to prevent them in the first place. Regularly inspect your walls for any signs of damage or weak spots. Avoid hanging heavy objects directly on drywall and use anchors or studs whenever possible. Additionally, be mindful of furniture placement and avoid accidentally bumping into the walls.
Gather the Necessary Tools and Materials
To gather the necessary tools and materials for repairing holes in your drywall, you will need to assess the size and severity of the hole. Once you have determined the extent of the damage, you can proceed to gather the items you will need to fix it. Here is a handy table outlining the tools and materials required:
Tools
Materials
Putty knife
Drywall compound
Sandpaper
Joint tape
Utility knife
Primer
Paintbrush
Paint
Drywall saw
Spackle
Now that you have an idea of what you will need, let's delve into some additional tips for a successful repair. When it comes to choosing the right paint color, it is essential to consider the overall aesthetic of your space. You may want to match the existing paint or opt for a complementary shade that enhances the room's ambiance. Additionally, to prevent future damage, it is crucial to address the underlying cause of the hole. Inspect the area for any signs of moisture or structural issues that could lead to further damage. By addressing these issues promptly, you can avoid costly repairs down the line.
Gathering the necessary tools and materials is the first step towards repairing holes in your drywall. By having the right equipment on hand and following the proper techniques, you can achieve a seamless finish and maintain the integrity of your walls. Remember, attention to detail and a proactive approach to preventing future damage are key elements in the process.
Prepare the Damaged Area for Patching
To prepare the damaged area for patching, assess the size and severity of the hole and gather the necessary tools and materials as outlined in the previous subtopic. Once you have done that, it's time to prime the damaged area and choose the right patching method.
Before you begin patching, it's crucial to prime the damaged area. Priming helps create a smooth and even surface for the patching material to adhere to. It also prevents the patch from standing out once it's painted. You can use a primer specifically designed for drywall repairs, which will ensure better adhesion and durability.
Now, let's talk about choosing the right patching method. The method you choose will depend on the size and severity of the hole. For small holes or cracks, you can use spackling compound or joint compound. These are easy to apply and provide a seamless finish. Simply apply the compound with a putty knife, smooth it out, and let it dry. Once dry, sand it down for a smooth finish.
For larger holes, you may need to use a patching kit or a drywall patch. These kits contain everything you need to repair the hole, including a self-adhesive patch and joint compound. Follow the instructions provided with the kit to ensure a successful repair.
Remember, when choosing a patching method, it's essential to consider the final finish you desire. Some methods may require more steps, such as sanding and painting, to achieve a seamless and professional look.
By priming the damaged area and choosing the right patching method, you can ensure a successful repair that blends seamlessly with the surrounding drywall. It's all about attention to detail and using the right tools and techniques.
Apply the Patching Compound or Spackle
Once you have primed the damaged area, it's time to apply the patching compound or spackle to repair the hole in your drywall. There are different types of patching compounds available that can help you achieve a seamless repair.
One popular option is lightweight joint compound, which is easy to work with and dries quickly. Another option is setting-type joint compound, which hardens through a chemical reaction and offers a stronger and more durable finish.
To begin the patching process, scoop a small amount of patching compound onto a putty knife or trowel. Apply the compound to the hole, starting from the center and working your way outwards. Use smooth, even strokes to spread the compound, ensuring that it fills the hole completely. For larger holes, you may need to apply the compound in layers, allowing each layer to dry before applying the next.
Once you have filled the hole, it's important to blend the patched area with the surrounding wall to create a seamless finish. One technique you can use is feathering, where you gradually thin out the compound towards the edges. This helps to minimize the appearance of the patched area and creates a smooth transition between the patch and the wall. You can also use sandpaper to gently smooth the patched area after the compound has dried.
Remember to follow the manufacturer's instructions for drying time and sanding, as different types of patching compounds may have specific requirements. With the right techniques and materials, you can achieve a professional-looking repair that seamlessly blends with your existing drywall.
Sand and Smooth the Patched Area for a Finished Look
Now it's time to sand and smooth the patched area to give it a finished look. This step is crucial in achieving a seamless repair that blends in with the surrounding wall. By using the right techniques and tools, you can achieve professional results and create a surface that is ready for priming and painting.
To begin, gather the necessary materials: sandpaper (120-grit or higher), a sanding block or sponge, and a vacuum or brush to remove dust. It's important to wear protective goggles and a dust mask to keep yourself safe during the sanding process.
Next, refer to the table below for a step-by-step guide on how to feather and blend the patched area:
| Step | Instructions |
|---|---|
| 1 | Start with a coarse-grit sandpaper to level the patched area with the wall. |
| 2 | Switch to a finer-grit sandpaper to smooth out any rough edges and create a seamless transition. |
| 3 | Use a sanding block or sponge to evenly distribute pressure and avoid creating low spots or indentations. |
| 4 | Continuously check the patched area by running your hand over it to ensure it feels smooth and blends well. |
| 5 | Once you are satisfied with the smoothness, remove any dust with a vacuum or brush before proceeding to prime and paint. |
Remember, the goal is to create a surface that is indistinguishable from the rest of the wall. By following these steps and taking your time, you can achieve a flawless finish that will make your repair virtually invisible.
Now that you have successfully sanded and smoothed the patched area, it's time to move on to the next step: priming and painting. This final step will not only protect the repaired area but also ensure a consistent and cohesive look throughout the wall. Stay tuned for the next section to learn how to effectively prime and paint your repaired drywall.
Frequently Asked Questions
Professional Drywall Repair
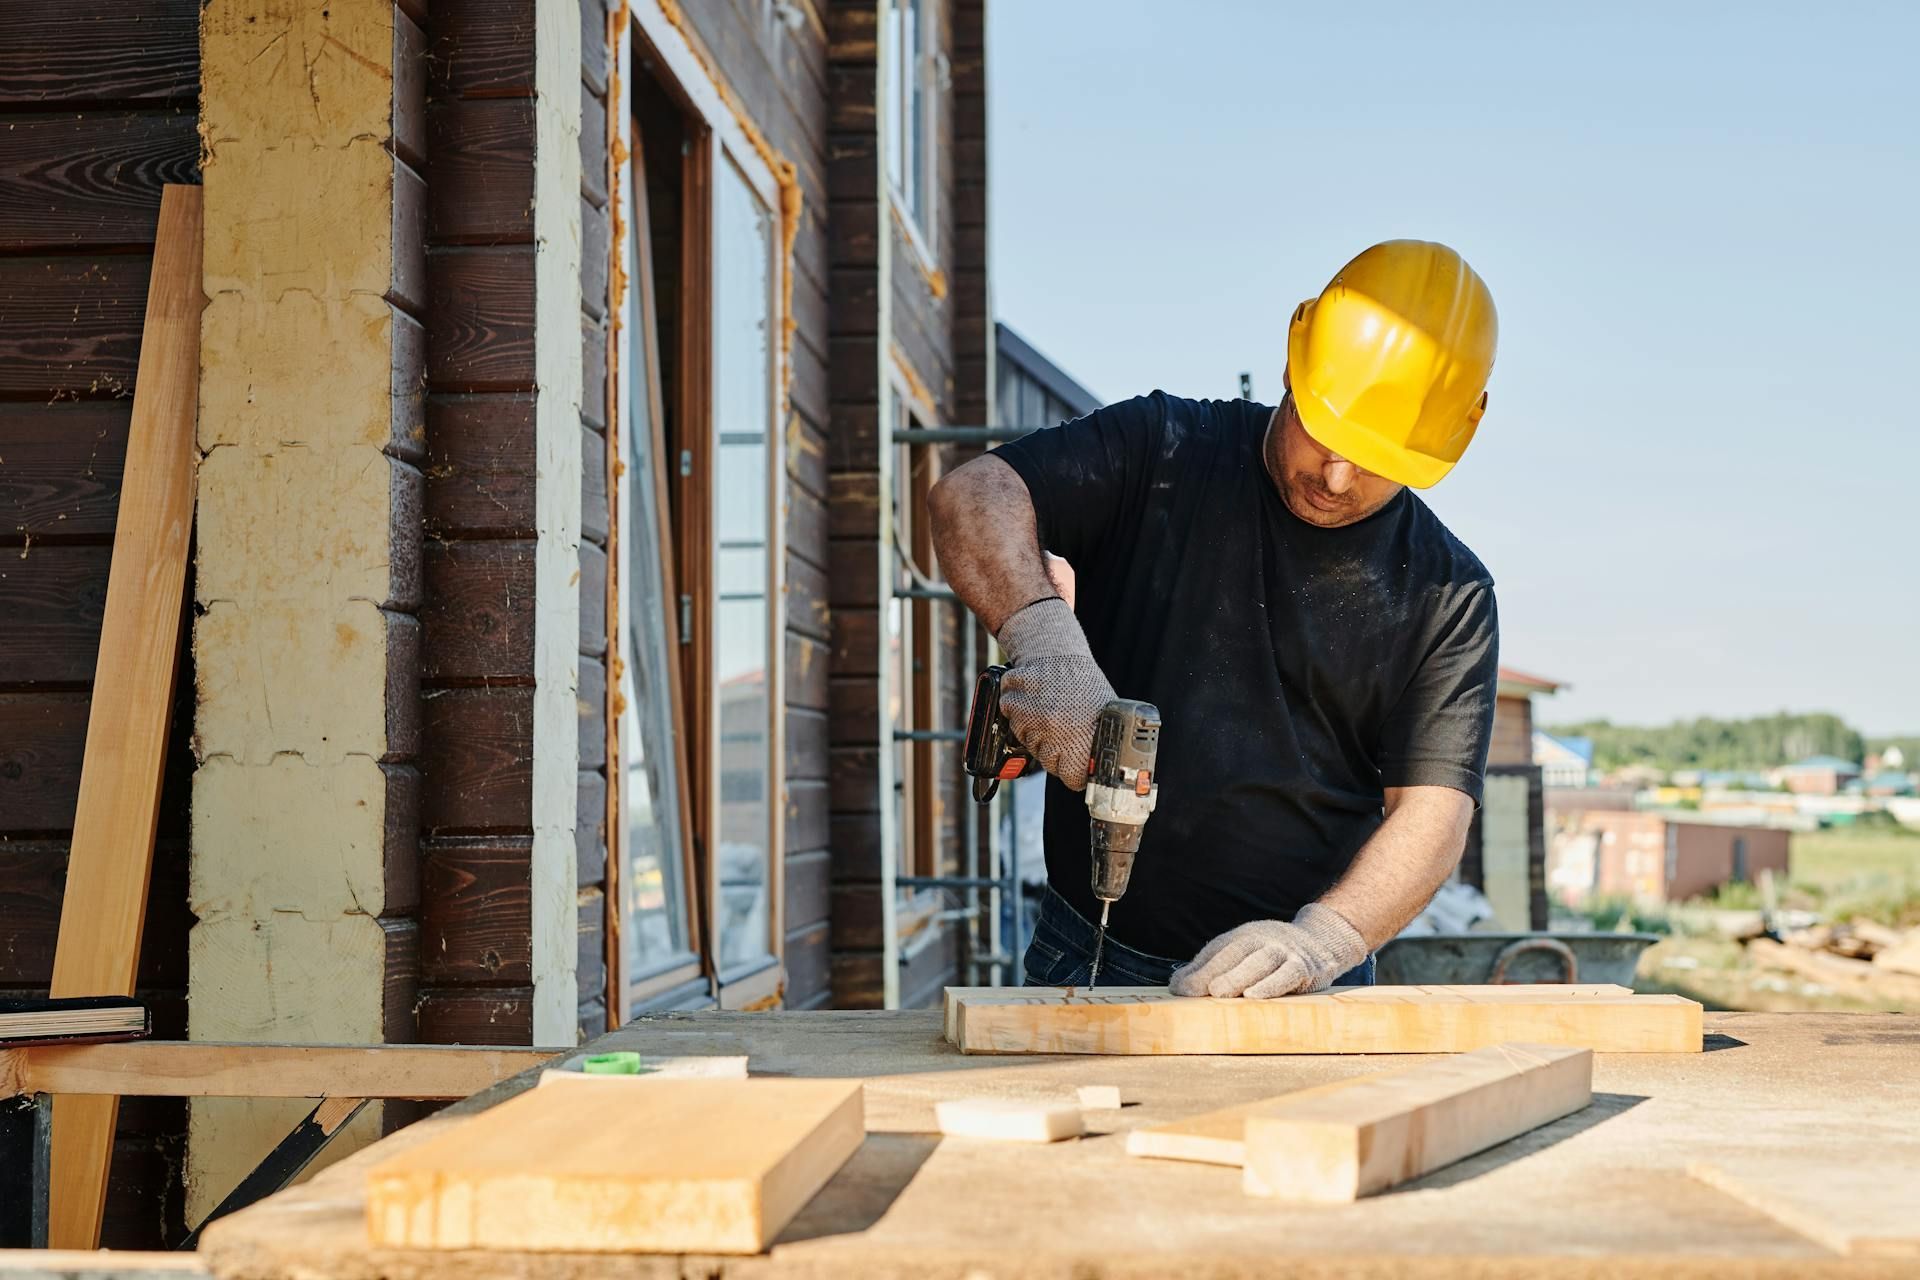
Are you tired of looking at that unsightly hole in your drywall? Or perhaps you have noticed some cracks starting to form? Don't worry, because professional drywall repair is just a call away! With Certified Carpentry skills, you can trust that your drywall will look as good as new in no time.
One of the key reasons to hire
Certified Carpentry for drywall repair is their expertise and experience. These professionals have undergone rigorous training and have years of hands-on practice, allowing them to assess the damage accurately and come up with the best solution. They know exactly how to repair drywall efficiently and effectively, ensuring a seamless finish that blends seamlessly with the surrounding wall.


Business Details
Address: 384 Pinewood Dr, Radcliff, KY 40160, United States
Phone: (270) 801-4034
Business Hours:
- Monday to Friday : 8:00 am to 5:00 pm
- Saturday: 12:00 pm to 5:00 pm
- Sunday: Closed